How Is Artificial Grass Installed?


Thinking about overhauling your lawn by replacing it with low-maintenance artificial turf? Curious about what you can expect during the installation process? You’ve come to the right place! At Lawn Pop, we’ve installed thousands of gorgeous artificial lawns throughout the Austin, TX, metro area, and we know trading in your live landscaping for long-lasting, low-maintenance turf comes with its share of questions. Below, we’ve outlined the steps we follow to replace natural turf with artificial grass so you know what goes into achieving a perfectly finished, attractive lawn.
Step 1: Pre-Installation Underground Inspection
Before installing artificial turf, the installer needs to know if any potential hazards exist underground. Things they will keep an eye out for include:
- Electric lines
- Water pipes
- Sprinkler heads and pipes
- Drainage pipes
To protect electric wires from damage, all wires will be moved about six to eight inches away from your desired turf perimeter before beginning the installation process. Those wires will be resuscitated on top of the subgrade beneath the turf later on. Next, any actively used sprinkler heads will be covered where they attach at pipe level, and any unused sprinkler heads will be marked throughout the area to avoid uneven turf installation.
Step 2: Prep the Area
After all potential subsurface hazards have been located, it’s time to prep the area where the turf will be installed. Here’s how we do it:
1. Kill Roots & Weeds
Using a non-toxic weed killer, we’ll spray the entire area to kill all grassroots and weeds. To ensure plenty of time for the roots to die off, we’ll make sure to perform this step at least two weeks prior to your desired installation date. Our technicians will not proceed with artificial turf installation until we’re certain there’s no sign of plant life throughout the prepped area.
2. Remove Soil
Next, the top layer of soil will be removed from the prepped area to make room for the new base layer that will sit beneath your artificial turf. We recommend removing approximately three to four inches of soil to allow ample space for the new base. Once the soil’s been replaced, we’ll tamp down the entire area.
3. Plan Your Drainage System
If your yard has soil that drains efficiently, we won’t worry about a drainage system. If, however, we’re installing artificial turf on top of poorly draining soil, we’ll need to install a drainage system to direct rainwater away from your yard and prevent flooding.
4. Install Bender Board & Optional Barriers
The last step of the prepping process involves installing a bender board to separate your artificial turf from the rest of your lawn and contain it within its designated perimeter. If you prefer, we can also install gopher wire to keep pests from digging through your new turf, and a weed barrier to prevent unwanted plants from infiltrating your artificial grass.
Step 3: Install the Base Layer
Before we lay down the turf itself, we need to install the sub-base layer, which the turf will lie on. This layer helps with efficient water drainage and is typically composed of crushed stone, gravel, granite, or rock. To install the sub-base, we’ll use a wheelbarrow or shovel to scatter three to four inches of the material around the entire prepped area.
Next, we’ll lay down a thin layer (approximately 10-15 millimeters) of sharp sand on top of the crushed rock. This layer levels out the surface of the sub-base and provides a firm surface on which to lay the artificial turf. Once the sand is in place, we’ll use a garden hose to gently sprinkle the entire area with water.
The sub-base will be relatively loose and uneven after application, so we’ll need to compact and level it out prior to installing the turf. Using a tamper or plate compactor, we’ll compact the surface of the sub-base until it’s about 90% of its original depth. The base should feel solid and slightly concrete-like after compacting, but it should still drain efficiently. After compacting, we’ll examine the area for uneven spots and flatten or fill them accordingly.
Step 4: Install the Artificial Turf
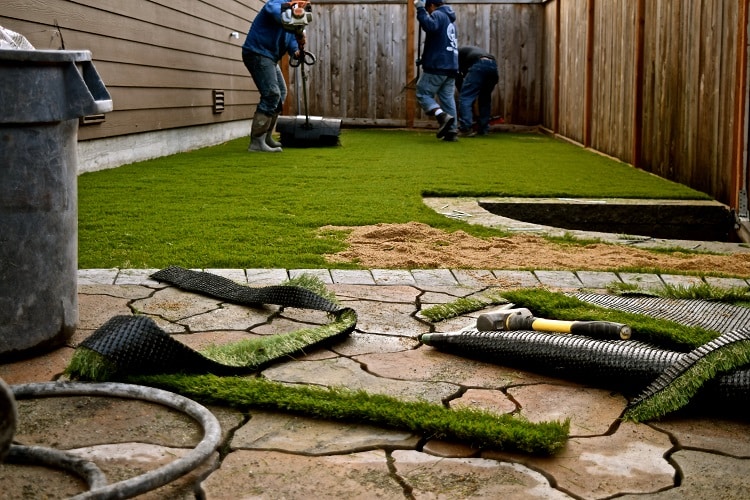
The turf will be rolled out on an even surface,and marked according to the size of the designated installation area. Next, we’ll cut the turf according to our precise measurements and markings and transfer it to the installation area piece by piece.
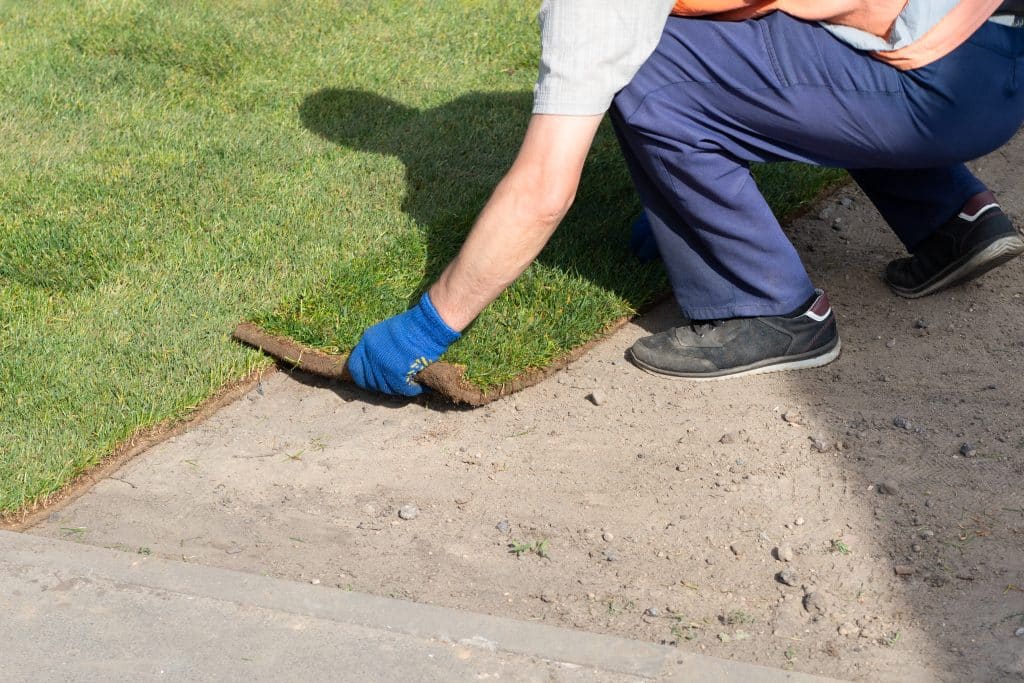
To install the turf, we’ll roll out each piece over its designated installation area and give it a light shake so air can get between the compacted base layer and the underside of the turf. (We’ll be sure not to drag the turf over the compacted sub-base or we could ruin the smooth surface we just worked so hard to create!)
Once the turf is in place, we’ll use a special tool to stretch it slightly, which will help prevent heat expansion and wrinkling after installation. Once the turf is in place, it’s time to start seaming the pieces together. Seaming typically works best when two people can work together, so you’ll likely see teams of two working on this step.
After we’ve seamed the pieces of artificial grass together, we’ll secure them in place by hammering nails into the ground every few inches, being careful not to trap grass fiber beneath the head of each nail. Finally, we’ll secure the perimeter of the new turf using galvanized stakes or landscaping pins. We’ll be careful not to hammer too hard so that we don’t create dips on your lawn.
Step 5: Perform the Finishing Touches
After we’ve secured the turf in place, it’s time to trim up any unwanted grass fibers and trim around the perimeter where excess turf exists. If we’re installing turf around protrusions such as trees, we’ll need to trim around these areas, too.
Finally, we’ll need to apply infill material to weigh down the turf and prevent it from matting over time. To do this, we’ll brush the grass fibers upward and make sure they’re completely dry before proceeding with the infill application. Using a shovel, we’ll apply about 1 to 1.5 pounds of infill per square foot of turf. We’ll spread it evenly over the surface in a back-dragging motion or use a sand spreader to complete the job.
Because the infill material needs to settle below the grass fibers, our team will gently brush or broom the surface of the fake grass until the material sinks out of sight. We’ll check the entire area for even application and apply extra infill where necessary. When we can no longer see any infill, we’ll water the entire area of artificial turf to set the whole thing in place.
Ready to Discuss Your Artificial Grass Options? Contact Lawn Pop Today
Ready for the low-maintenance, gorgeous lawn of your dreams? Don’t hesitate to get in touch with our team at Lawn Pop! We specialize in residential and commercial artificial turf installation for property owners throughout the Austin, TX, metro area and offer free estimates for your convenience. To learn more about your artificial grass options or to request your free estimate, give us a call at (512) 298-0933.


